
I let the Gummy Bear's sit in the liquids for two days on the counter. They were then able to make observations and take note of the changes in the bear's over time. You would think that they would lose interest over a two day period, but that was not the case in our house. Many times during the day I heard "Mom! Come and see the Gummy Bear's...or Can I take a closer look?" We had the magnifying glass on the counter next to the tray of soaking bear's and the fun lasted until we took them out :)
I found this experiment on a really great Science Blog, written by a science teacher who has her B.S. in Biology, M.S. in Molecular Genetics and Microbiology along with an elementary teaching degree. Her blog is called "Science for Kids" and has a lot of great experiments for Pre-K through 4th graders. She has some experiments that are free, but it seems that you need to purchase most of her materials from her store.
http://scienceforkidsblog.blogspot.com/
This Gummy Experiment was designed for third graders and the worksheets she created were not free. I re-created the worksheets and adjusted the experiment to be used at a Kindergarten level. I have provided links to my worksheets below along with "easy to follow" steps if you would like to try this at home with your kids!
Easy Material List (all found in the kitchen):
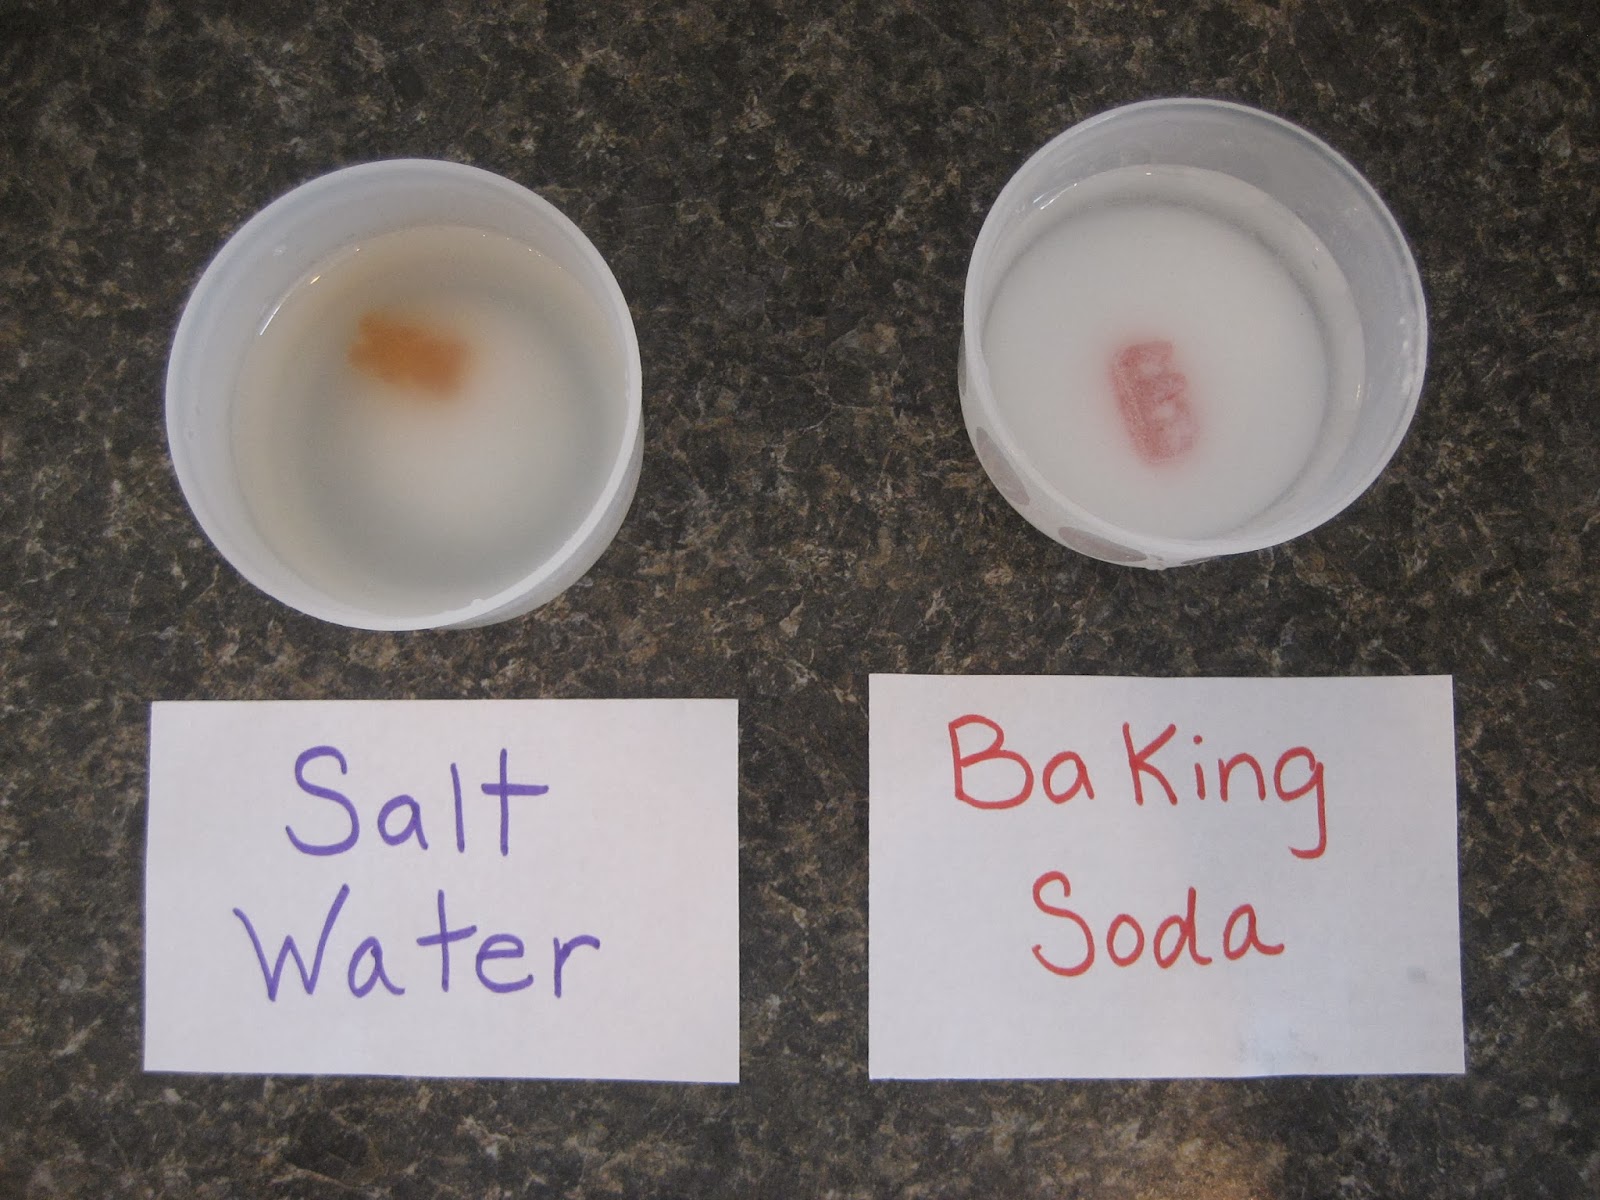
- Gummy Bears
- Salt
- Baking Soda
- Vinegar
- Worksheets (I have provided below)
.JPG) |
| Oliver's Predictions |
*Change Color
*Change Shape
*Get Bigger
*Get Smaller
Prediction Worksheet:
https://docs.google.com/document/d/1FY8jaPYzWNtLcd0FFxSKu3PGDuTb2i59QnzBW9aKnYc/edit
.JPG) |
| Length of Gummy's before experiment |
Observation Graph:
https://docs.google.com/file/d/0B-4_yroOwt-aSjV3VFJiLWVuU0U/edit
 |
| 1. Circling our Predictions |
 |
| 2. Recording our "before" measurements on the graph |
 |
| 3. Ellie is stirring and preparing the salt water |
 |
| Oliver is stirring and preparing the Baking Soda water |

5. These are pictures I took in the next couple of days as the kids would go observe the Gummy Bears!


**Teaching Tip: I only suggested a few times on the first day that they check out their cups to see what was happening...after that they were doing this over and over again on their own. Having to make observations over a couple day period was very beneficial for my kids. I heard some wonderful "scientific language" coming out in their conversations with each other.
"I notice that the green Gummy Bear has bubbles on it just like the orange one."
"Mom, the baking soda didn't dissolve in the water...why not?"
"I think my prediction was right...the orange on is getting smaller."
"The yellow one is getting all blobby..."
I really enjoyed hearing their conversations and seeing them refer back to their predictions!
6. The last step was to take the Gummy Bears out of the liquids to make our final Observations and measurements.

https://docs.google.com/document/d/1O_iQs7FTS_1qaf34R_UFcUZRtd2Z7qkAYBSJvXxW71k/edit
 |
| Recording our new measurements on the graph |
**Teaching Tip: Again, we had a great opportunity to discuss the results on our graph. Oliver actually started quizzing me! He asked me which Gummy Bear was the biggest and which was the smallest. We also discussed the difference between the before and afters of each Gummy Bear.
Suggestion:
In the container it appeared that the salt water actually made the Gummy Bear smaller, but when you take it out of the water to display it seems to expand a bit on the paper. I would suggest trying to measure it while still in the salt water, rather than on the paper.
 |
| Oliver's final product! |
 |
| Ellie's graph looks a bit different...she didn't quite get the number concept on the graph. She was however exposed to graphing and had a lot of fun doing it! |


Skills Gained and Worked on:
- Making Predictions
- Recording Observations
- Graphing
- Observing over a period of time
- Measuring (exposure to centimeters)
- Comparing Results

No comments :
Post a Comment